Installing artificial grass yourself
Do you want to get started with the installation of artificial grass? With our DIY step-by-step plan we guide you step by step to a neat and durable end result. From preparation and measuring to finishing seams and edges: each phase is clearly explained.
All necessary accessories such as glue, tape, weed barrier, and infill sand are easily available in our webshop. This way, you have everything at hand at once.
Are you unsure or need extra advice?
👉 Request more info and we are happy to assist you with personal advice.

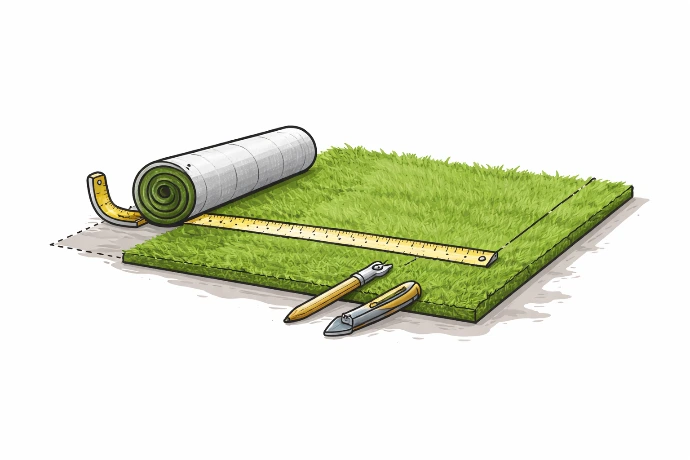
Measuring & calculating the area
Measure the area and calculate the number of square meters needed.
Always provide a little more artificial grass than needed to avoid surprises.
When measuring, take into account the width of the artificial grass rolls. Our rolls are 4 meters wide, by aligning your laying plan with this in advance, you avoid unnecessary waste.
Are you unsure about the right amount or the best layout? We are happy to think along with you.
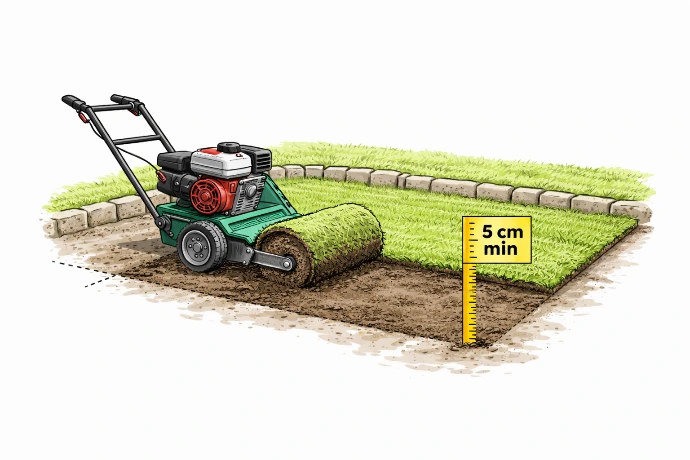
Removing the existing grass layer.
Remove the grass with a sod cutter to a depth of at least 5 cm. After completing this task, the substrate should look significantly better. Now you can determine if any further digging is needed or if the level of the garden is satisfactory. Keep in mind existing borders, paths, patios, etc....
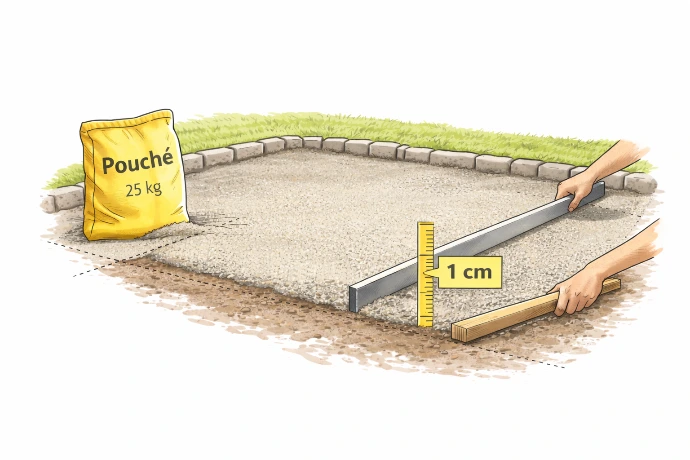
Applying a leveling layer of Pouché.
Apply a leveling layer of Pouché with a thickness of about 1 to 2 cm. This layer is meant to make the substrate perfectly flat and to smooth out small imperfections.
Spread the material evenly over the surface and level it out with a straightedge or long board.
Take enough time for this: the flatter this layer, the nicer and tighter the artificial grass will lie afterwards.
If possible, this layer can be compacted with a plate compactor or roller.
Placement of shock pad or geotextile
It may be beneficial to provide an extra protective layer between the substructure and the artificial grass. This can be in the form of a shock pad or geotextile.
A shock pad provides extra cushioning and comfort and is mainly used in play areas or for intensive use. Additionally, this layer helps to absorb further unevenness. We use it as standard during installation.
Geotextile is used to separate the underlying layers and prevents materials from mixing.
It also helps against weed growth.

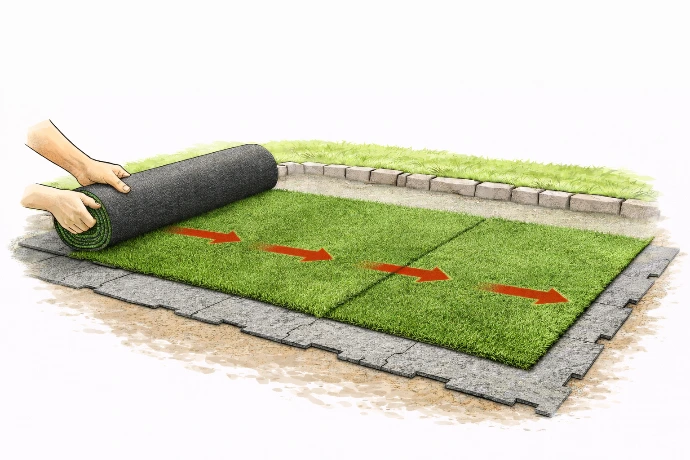
Rolling out the artificial grass.
Roll out the artificial grass over the prepared surface. Allow the artificial grass to rest for at least 30 to 60 minutes so that it can relax and lie flat.
This makes it easier to cut and finish accurately later.
Pay close attention to the direction of the fibers: all pieces of artificial grass should lie in the same direction to avoid color differences.
Position the artificial grass so that seams are as invisible as possible.
This can be a tricky task, but perseverance pays off.
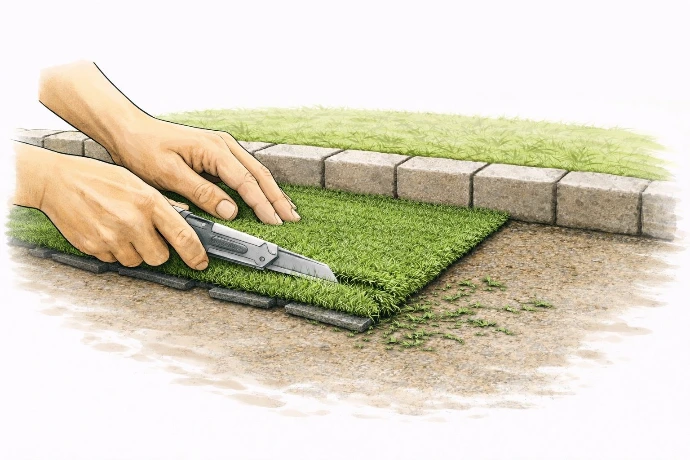
Trimming along the edges.
When the artificial grass is correctly positioned, you can start trimming along the edges. Use a sharp knife for this and always cut along the back of the artificial grass (the black backing). This will give you a clean and straight cut line without damaging the fibers.
Cut the artificial grass just against the edge stone, without cutting underneath it. Work calmly and in short cutting motions for maximum control. It is better to trim in several passes than to cut too deep in one go.
Check after cutting if the artificial grass fits nicely against the curb and is neatly finished all around.
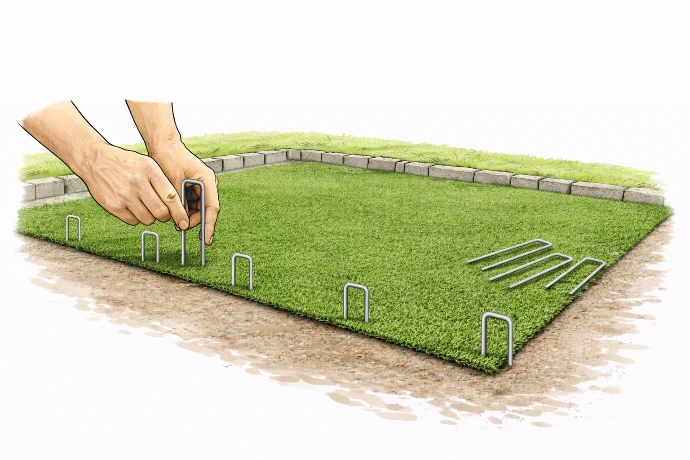
Securing with ground pins
To prevent the artificial grass from shifting, it is secured with ground pins. Place the ground pins along the edges of the artificial grass, driving them firmly through the backing of the grass.
Hammer the ground pins in until they are level with the surface. Make sure the head of the pin presses the artificial grass down firmly, but is not visible on the top side.
Place the pins every 50 cm.
You can find the pins here in our shop.
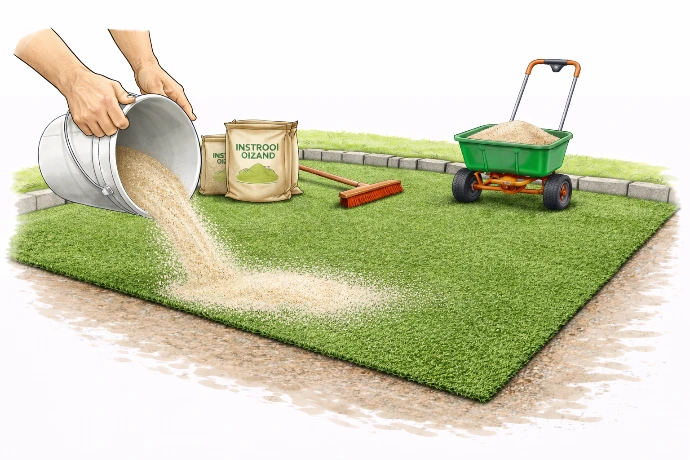
Sand and brush the artificial grass
Now you can sand and brush the artificial grass. Evenly sprinkle the infill sand over the artificial grass. This provides extra stability and, together with the ground pins, ensures it stays firmly in place even in stormy weather.
Then brush the artificial grass against the direction of the fibers with a stiff broom. This allows the sand to settle between the fibers and makes the grass blades stand up nicely.
Pay extra attention to edges, seams, and areas that will be used intensively.
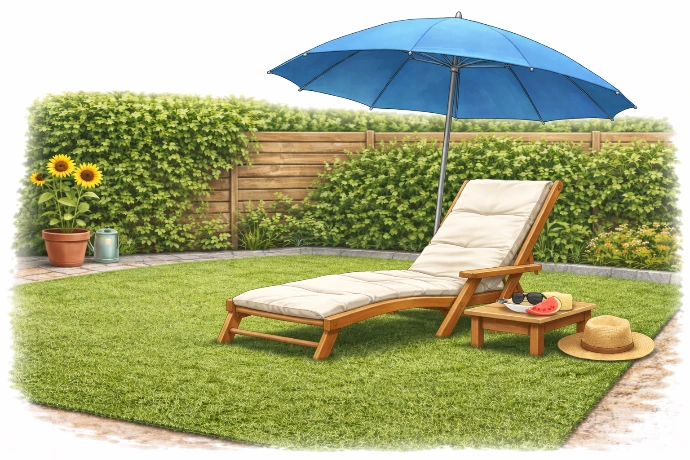
Enjoy!
After all that hard work, a long period follows in which you can enjoy a carefree garden!